
Many Roblox fans would like to create their own mode, but do not always know where to start and what is needed for this. In this article, you will find the main basics of developing places in Roblox Studio, which will help you start your journey as a developer.
How to download Roblox Studio
All modes are created in a special program - Roblox Studio. This engine was created specifically for the platform and allows everyone to create their own games.
Roblox Studio is installed along with the regular game client, so to install the engine you only need to launch any play once. After this, shortcuts for both programs will appear on the desktop.

Working in Creator Hub
Creator Hub, aka Creator Center — a special page on the Roblox website where you can conveniently manage your plays and learn more about their creation, as well as work with items, advertising, etc. To enter it, just click the button Create at the top of the site.

On the left side of the Creator Center you can view analytics on created items, advertising, and finances. Information about created plays can be found in creations и Analytics.

- Dashboard at the top will show the same information as in creations, Marketplace will allow you to see different models of objects that can be used in plays.
- Tab Talent will show teams and developers who are ready to cooperate and can help create the game.
- Forums - this is a forum, and Roadmap — a collection of useful tips for developers.
The most useful tab is Documentation. It contains documentation, that is, precise instructions that will be useful when creating plays.
The creators of Roblox have written many lessons and detailed instructions that will help you understand any difficult topic. It is in this part of the site that you can find a lot of useful information.

Roblox Studio Interface
Upon entering, the program greets the user with an offer to undergo training on the basics of working with the engine. It is well suited for beginners, despite the fact that it is made entirely in English.

To create a new game you need to press the button New on the left side of the screen. All created games are visible in MyGames.
Before you begin, you will need to select a template. It's best to start with baseplate or Classic Baseplate and already add the necessary elements to them, but you can choose any other one, which will have pre-installed objects.

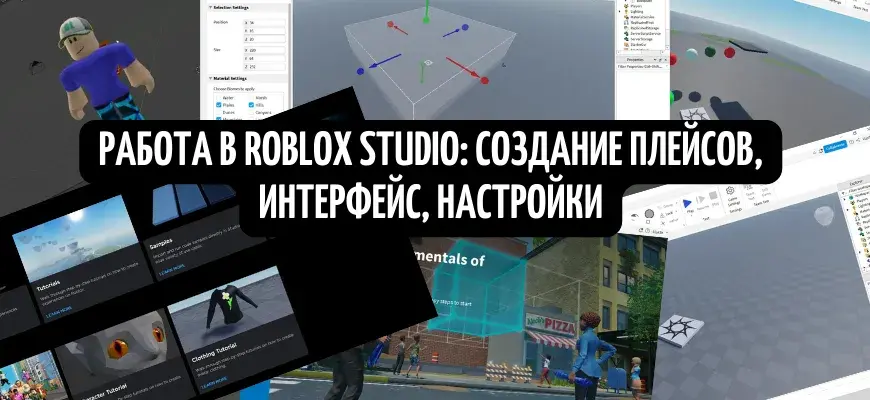
After selecting a template, a full working window will open. It may seem overly complicated at first, but it is quite easy to understand.

The buttons in the top menu do the following:
- paste – pastes the copied object.
- Copy - copies the selected object.
- Cut - deletes the selected object.
- Duplicate - duplicates the selected object.
- Select - when pressed, LMB selects an item.
- Move - moves the selected item.
- Scale - changes the size of the selected item.
- Rotate rotates the selected item.
- Editor - opens the landscape management menu.
- Toolbox - opens a menu with items that can be added to the map.
- Part - adds figures (desks) to the map - sphere, pyramid, cube, etc.
- UI - user interface management.
- Import 3D - import of 3D models created in other programs.
- Material Manager и Color - allow you to change the material and color of objects accordingly.
- Group - groups objects.
- Lock - locks objects so they cannot be moved until they are unlocked.
- Anchor - prevents an object from moving or falling if it is in the air.
- Play, DESCRIPTION и Stop They allow you to start, pause and stop the play, which is useful for testing.
- Game Settings - game settings.
- Team Test и Exit Game team test and exit from the game, functions for joint testing of the place.
Menu Toolbox и Editor open on the left side of the screen, on the right you can see the search engine (Explorer). It shows all objects, blocks, characters that are used in the play.
Top left button Fillet allows you to open or save a file. Tabs Home, Model, Avatar, Test, View и Plugins needed to work on different parts of the mode - 3D models, plugins, etc.
To navigate, you need to use the mouse, wheel to move, RMB to rotate the camera.
Creating the first place
In this article, we will create the simplest mode that will help you understand the basics of working in Roblox studio. Let's start by creating the landscape. To do this you need to press the button Editor and select the button Generate.

A transparent figure will appear, within which the landscape will be generated. You can move it with colored arrows, and by clicking on the balls you can change the size. On the left side you should configure the generation - what type of landscape will be created, will there be caves in it, etc. At the end you need to click another button Generate.

After creating a landscape, you can change it by clicking on the menu Editor button Edit. Available tools include creating hills, smoothing, changing water, and others.

Now you need to find in the right menu SpawnLocation - a special platform on which players will appear, click on it and, using the Move tool, raise it so that it is above ground level.
After this you can click on the button Play and try the resulting mode.

Let there be a small obbi on the map. This requires objects that are added via Part. Using Scale, Move и Rotate, you can create a small parkour. To prevent blocks from falling, each of them must be selected and secured with a button Anchor.

Now let's add color and material to the blocks. This is easy to do by selecting the block and the desired material/color using the appropriate buttons.

Publishing and setting up a mode
When the game is completely ready, you need to press the button Fillet in the top left and select in the drop-down window Save to Roblox as…

A window will open in which you will need to fill in some information about the mode - name, description, genre, device from which it can be launched. After pressing the button Save other players will be able to play play.

You can configure the game in the Creator Center, namely in the menu creations. Statistics about visiting the mode, as well as other useful settings, are available there.

How to create good plays
Popular modes sometimes amaze with the variety of possibilities and are addictive for a long time. To create such projects you need to have various skills and abilities.
First of all, you need to know a programming language C++ or Moon, or better yet both. By writing scripts, you can create quite complex mechanics, for example, quests, transport, plot, etc. You can learn these programming languages using numerous lessons and courses on the Internet.
To create beautiful 3D models, you should learn how to use the program Blender. It's free, and you can start making your first models after a few hours of study. The created objects are then imported into Roblox Studio and used in the mode.

Every player can create his own play. If you feel like you're lacking certain skills, you can develop the game with other users.


